Sunday, June 29, 2014

Bon Appetit Desserts: Cornmeal Pound Cake with Rosemary Syrup, Poached Pears, and Candied Rosemary

Right, there is a lot going on with this!

The cake is rather easy to put together and because my oven is moody at times, I was able to bake it in one hour, instead of an hour and 15 minutes.

Even though there are three separate components to this recipe, they all come together quite nicely. While the cake is baking you can poach the pears, and while the pears are poaching, you can make the candied rosemary.

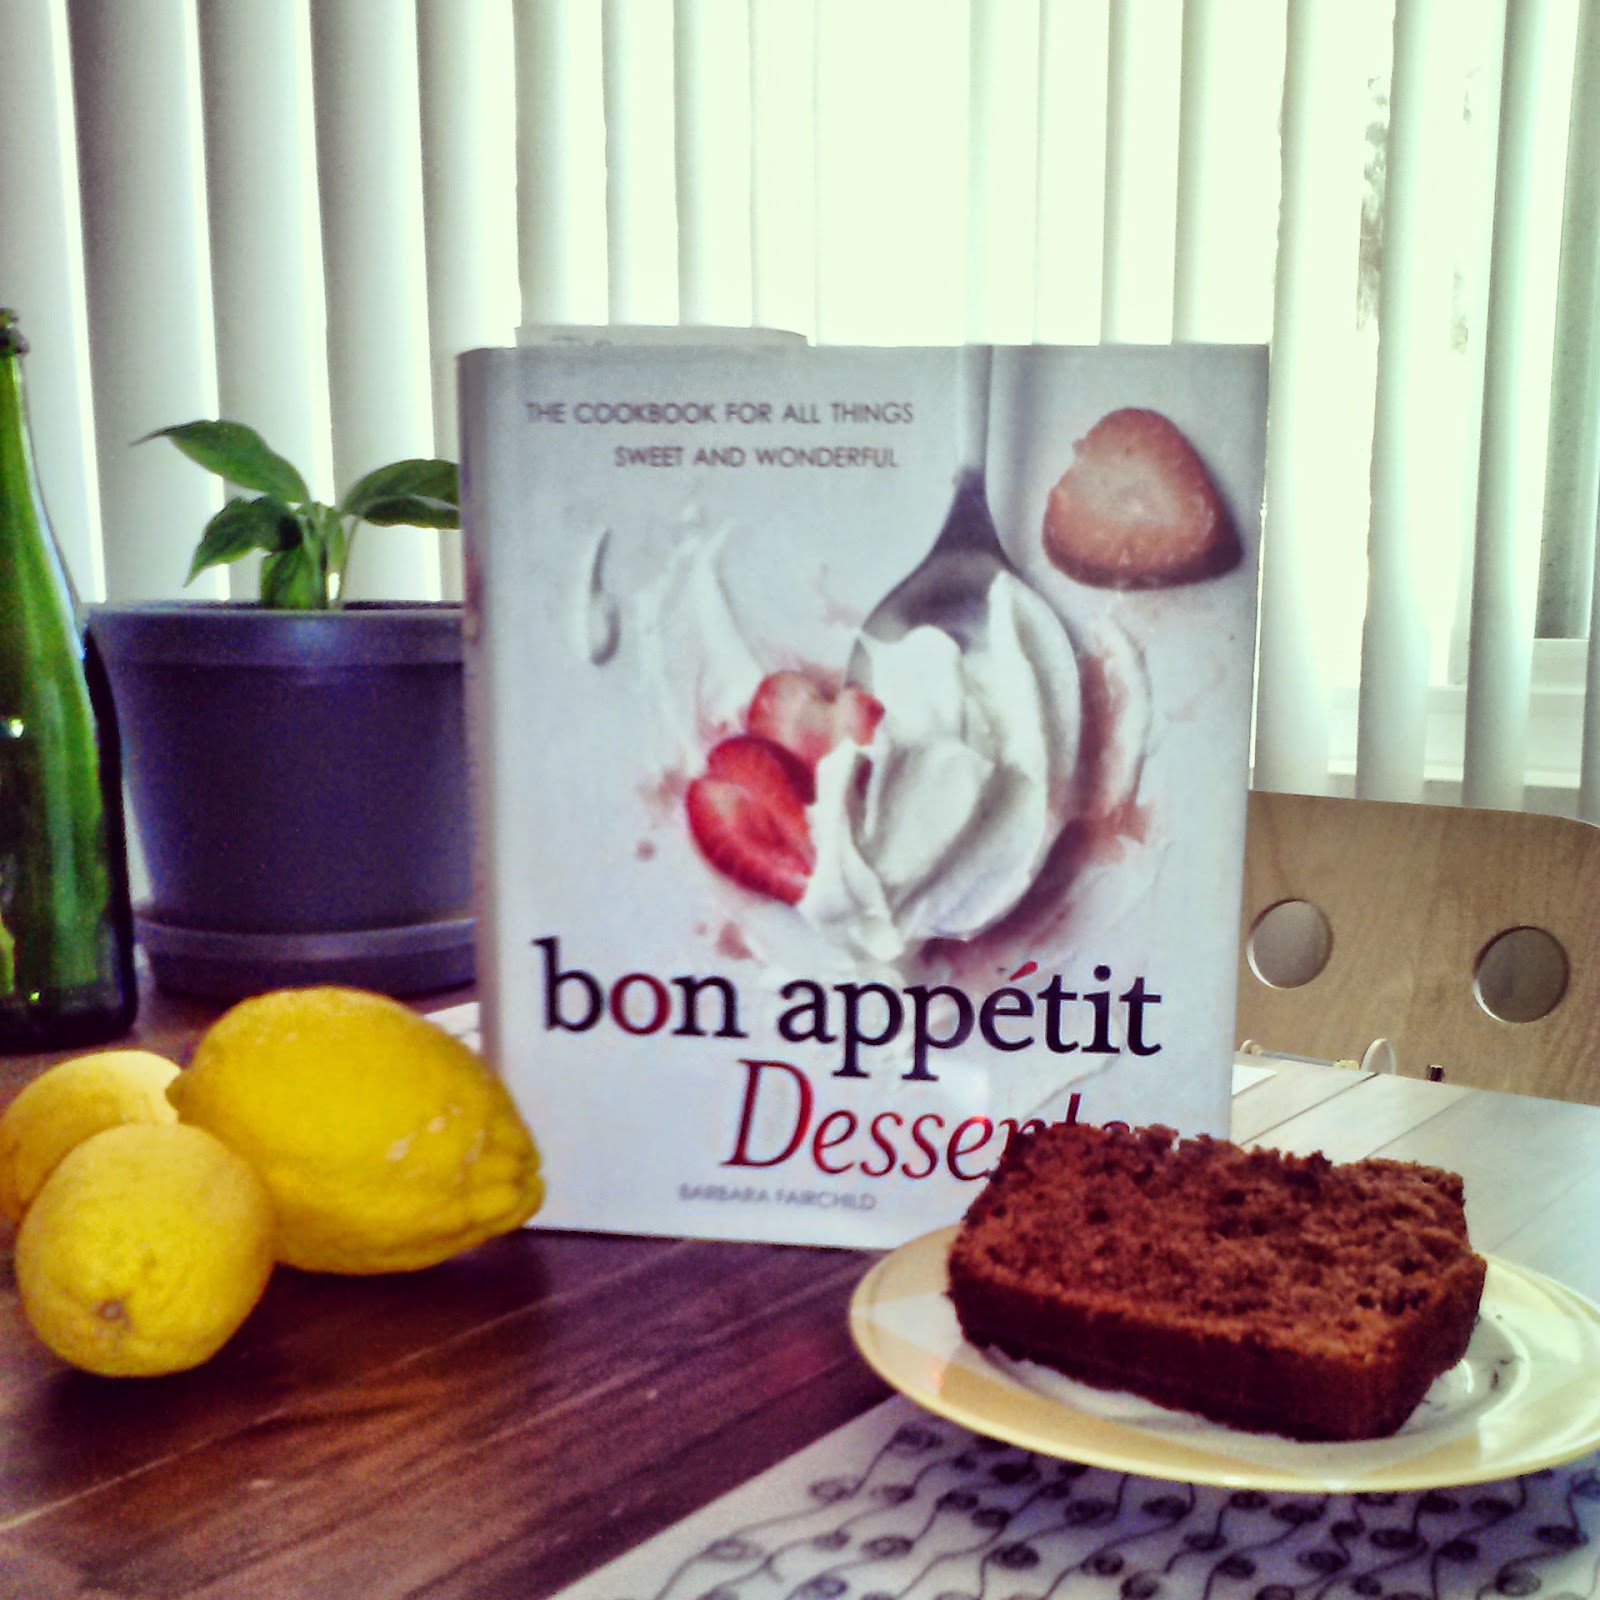
It sure does look lovely!

If you would like to pin these recipes, I have a board on Pinterest called, 'My Bon Appetit Journey'.


Cornmeal Pound Cake with Rosemary Syrup, Poached Pears, and Candied Rosemary

Rosemary is typically used in savory dishes, but here it flavors a sweet syrup that plays off the pears, turning a humble pound cake into a sophisticated dessert. The rosemary is also delicious in a cup of tea; candied rosemary makes a perfect decoration for a holiday Yule log. 8 servings

Pears

3 cups water

2 cups sugar

1 cup dry or off-dry Riesling

3 fresh rosemary sprigs

1 vanilla bean, split lengthwise

1/4 teaspoon whole black peppercorns

8 Forelle pears or other small pears, peeled, stems left intact


Pound Cake

1 cup unbleached all-purpose flour

1 cup yellow cornmeal

1 cup (2 sticks) unsalted butter, room temperature

1- 1/3 cups sugar

1/4 teaspoon salt

5 large eggs, beaten to blend in a medium bowl

1 teaspoon vanilla extract


Syrup and Candied Rosemary

1 cup sugar

1/2 cup water

8 4-inch long fresh rosemary sprigs

Superfine sugar


Directions:

Pears: Combine 3 cups water, sugar, Riesling, rosemary, vanilla bean, and peppercorns in heavy large saucepan. Stir over medium heat until sugar dissolves. Add pears and bring syrup to boil, turning pears occasionally. Reduce heat to medium-low, cover, and simmer until pears are tender, about 20 minutes. Chill pears in syrup until cold, at least 3 hours.

Do ahead: Can be made 2 days ahead. Cover and keep chilled.


Pound cake: Preheat oven to 325ºF. Butter and flour 9x 5x 3-inch metal loaf pan. Whisk flour and cornmeal in medium bowl to blend. Using electric mixer, beat butter in large bowl until light and fluffy. Gradually beat in sugar, then salt.  Drizzle in beaten eggs by tabelspoonfuls, beating constantly, then beat in vanilla. Add dry ingredients in 3 additions, beating just to blend after each addition. Transfer batter to prepared pan. Bake cake until brown on top and tester inserted into center comes out clean, about 1 hour and 15 minutes. Cool cake in pan 15 minutes. Turn cake out onto rack and cool completely.

Do ahead: Can be made 1 day ahead. Wrap in foil and store at room temperature.


Syrup and Candied Rosemary: Bring 1 cup sugar and 1/2 cup water to simmer in medium saucepan over medium-high heat, stirring until sugar dissolves. Add rosemary. Simmer until syrup reduces slightly, swirling pan occasionally, about 5 minutes. Using tongs, transfer rosemary sprigs to rack and drain. Cover and reserve rosemary syrup.

Pour superfine sugar in shallow  bowl. Add drained rosemary sprigs to sugar, 1 at a time, turning to coat thickly. Place on paper towels. Dry at least one hour.

Do ahead: Can be made 1 day ahead. Let sprigs and syrup stand at room temperature.

Cut dark ends off of cake. Cut eight 1/2- 3/4-inch thick cake slices. Cut each slice diagonally in half. Arrange 2 halves on each plate. Drain pears. Stand 1 pear on each plate. Drizzle each dessert with reserved syrup and garnish with candied rosemary sprig. Serve, passing remaining rosemary syrup separately.


Friday, June 27, 2014

T-Shirt Quilt

A little over a year ago, a friend asked me, if I would make her a quilt, out of some old t-shirts.  I of course told her yes. I enjoy making quilts... scratch that. I enjoy the finished product. I however really do not enjoy cutting out this and that. To be honest I always feel like a 90 year old living in my body, whilst quilting. My back aches, I get tired and cranky.  Ha ha. Truly, I quite enjoy giving a quilt away. People are always so happy and that makes me happy.

So, a year ago I got her t-shirts and I immediately started to cut them down to size. I think I cut 4 before I called it quits. I recently picked the shirts back up about a month ago and worked on the quilt for one day. Well, I am happy to say that I finished the quilt this week. It is just too bad that it took me a year to do so. In the grand scheme of things, I really did put this quilt together pretty fast... just with many days and hours in between.

If you are planning to make a t-shirt quilt, do not forget to iron on pellon fusible web! Otherwise, when you are cutting and sewing the jersey knit will stretch, and stretch, and stretch! And you will be sad, sad, sad! If you want to make something like this, my blocks are 12x 17 and the white strips are 3 inches wide (blocks and strip width are before sewing).

Here is the finished product:


The front.

The back.

I did not follow a pattern for this. Sometimes, you just have to be free and sew where the needle takes you. The back is a lovely grey flannel. I always choose flannel for the backs of my quilts, because it is just so cozy!

What have you been sewing lately?

Sunday, June 22, 2014

Bon Appetit Desserts: Hot Fudge-Banana Pound Cake

My baking journey continues, with a Hot Fudge-Banana Pound Cake.

At this point, I would like to remind you, to read the recipe directions all the way through, before proceeding with the recipe. Today, I put the recipe together and put it in the pan, just to realize that the chocolate sauce was meant to be baked in the cake in addition to being drizzled on top, when serving.  Therefore, I had to scoop out 2/3 of the batter, whip up the chocolate sauce, and then re-fill the baking pan.

My little mishap will hopefully help you to complete this recipe without any mistakes.

Right now, I am wishing that I had some ice cream, so that I could eat this properly!


Hot Fudge-Banana Pound Cake

Here, the banana split is re-created in pound cake form, served with chocolate sauce, vanilla ice cream, and banana slices. The cake needs to stand at room temperature overnight before serving. 10 servings.

SAUCE

1-1/2 cups heavy whipping cream

1-1/2 cups sugar

6 ounces unsweetened chocolate, chopped

3 Tablespoons unsalted butter

Large pinch of salt

3/4 teaspoon vanilla extract

CAKE

2 cups sifted unbleached all purpose flour (sifted, then measured)

1 teaspoon baking powder

3/4 teaspoon salt

1/2 teaspoon baking soda

1 cup (about 2 large) mashed very ripe bananas

1 teaspoon fresh lemon juice

3/4 cup (1-1/2 sticks) unsalted butter, room temperature

1-1/4 cups sugar

4 large eggs, room temperature

Vanilla ice cream
Fresh banana slices (optional)

Sauce:  Stir cream, sugar, chocolate, butter, corn syrup, and salt in heavy medium saucepan over low heat until chocolate melts. Increase heat to medium and bring to a boil; stirring occasionally. Boil until reduced to 2-3/4 cups, stirring constantly, about 6 minutes. Cool; mix in vanilla. Set sauce aside.

Cake: Position rack in center of oven and preheat to 350ºF. Lightly butter 9x 5x 3-inch metal loaf pan. Line pan with waxed paper, leaving 1/2-inch overhang. Sift flour, baking powder, salt, and baking soda into medium bowl. Blend mashed banana and lemon juice in small bowl. Using electric mixer, beat butter and sugar in large bowl until fluffy. Add eggs 1 at a time, beating well after each addition. Using rubber spatula, mix in dry ingredients alternately with banana mixture, beginning and ending with dry ingredients.

Heat sauce until just slightly warm, stirring often. Spoon 1/3 of batter into prepared pan. Drizzle 1/3 cup sauce over and spread gently within 1/2 inch of pan edge. Repeat with another layer of batter and sauce. Top with remaining batter. Run small sharp knife through cake in zigzag motion to swirl sauce slightly.

Bake cake until tester inserted into center comes out clean, about 1 hour 15 minutes. Cool in pan on rack 30 minutes. Turn cake onto rack. Peel off paper and cool completely. Wrap cake in foil and store overnight at room temperature. Cover and chill remaining sauce.

Do Ahead:  Can be made 2 days ahead. Let cake stand at room temperature.

Rewarm sauce. Cut cake crosswise into 3/4-inch-thick slices. Top each with scoop of ice cream. Spoon warm sauce over. Garnish with fresh banana slices, if desired, and serve.

**NOTE: If you do not have 1 ounce chocolate baker's squares, you can use 3 Tablespoons cocoa powder and 1 Tablespoon fat (vegetable shortening, etc).  This measurement is equal to a one ounce square.  I did this, so that I could use my fair trade cocoa.**

Monday, June 16, 2014

Old Light = Fancy Planter

Yesterday was Father's Day and my mom and I went to my gramps' house and took him out to breakfast.  Afterward, we went back to his house and we helped him with things around the house.  This included me changing a light and shattering the new bulb on the ground.  Hooray!  My gramps did not want the old cover on the light anymore, so I asked him if I could have it.

I had a great idea in my head when I first saw it.  I just knew that it would make a great planter for a succulent or a cactus.  I had some left over gold spray paint from a project that I did for my school.  Things were coming together!

Here is what the cover looked like before, cleaned up and painted:


Here it is with a new plant and some plant friends:


I decided to go with some ivy instead of a cactus, because they need good drainage and this light has no holes on the bottom.


Here are four easy steps to making this yourself:

1. Find old light cover
2. Wash/ dry it
3. Spray paint it any old color you would like
4. Put a plant in it!

So simple, and cute!

*Both photos taken by me:  Tiffiny H.*

Sunday, June 15, 2014

Bon Appetit Desserts: Kumquat- Cardamom Tea Bread

This recipe is a mouth full to say, but it is worth it. I skipped ahead a few recipes in the book, because I saw kumquats at the store and I did not know how long they would be in season. I'll get back to the other two recipes, soon.

The most time consuming part of this recipe for me, was quartering the kumquats and taking all of the seeds out.  Dear Kumquats, why so many seeds for such a tiny fruit?  Other than that, this is a pretty simple recipe.

The flavor is so great. I love the tartness of the glaze. It goes so well with the light sweetness of the cake. This is a home run, for me!


Kumquat-Cardamom Tea Bread

This recipe makes two tea breads- keep one and give the other as a gift. Since the pale orange-colored kumquat icing adorning the bread is so pretty, just place the bread in a clear cellophane bag, available at some kitchen-supply stores, then tie on a bow.  A touch of instant iced tea powder adds an intriguingly subtle flavor, but it is optional.  Makes 2 loaves.

2  cups stemmed, quartered, and seeded kumquats; plus 2 kumquat, sliced thinly

Nonstick vegetable spray

3  cups unbleached all-purpose flour

2  teaspoons instant iced tea powder (optional) *I left this out*

1-1/2  teaspoons baking powder

1  teaspoon baking soda

1/2  teaspoon ground cardamom

2  teaspoons coarse kosher salt, divided

1-1/4  cups sugar

3/4  cup plus 1 Tablespoon corn oil

3  large eggs

2  teaspoons vanilla extract

1  8-ounce can crushed pineapple in juice

1  cup walnuts, toasted, chopped *I used pecans because I had them on hand*

1/4  cup (1/2 stick) unsalted butter, room temperature

3  cups powdered sugar

1  Tablespoon fresh lemon juice

Place quartered kumquats in processor, puree 3 minutes.  Measure 1/3 cup puree for glaze; set aside.

Position rack in center of oven; preheat to 350ºF. Spray two 8-1/2x 4-1/2x 2-1/2-inch meat loaf pans with nonstick spray. Combine flour, tea powder (if using), baking powder, baking soda, cardamom, and 1-1/2 teaspoons coarse salt in medium bowl; whisk to blend. Using electric mixer, blend 1-1/4 cups sugar and oil in large bowl. Beat in eggs 1 at a time, then vanilla, 2/3 cup kumquat puree (*this should be the remaining amount of kumquat puree*), and pineapple with juice. Gradually add dry ingredients, beating until just blended. Fold in walnuts. Divide batter between prepared pans.

Bake cakes until tester inserted into center comes out clean, about 1 hour. Cool in pans on rack 5 minutes. Turn cakes out. Place cakes, top side up, on rack and cool.

Place reserve 1/3 cup kumquat puree in large bowl. Whisk in butter, powdered sugar, lemon juice, and remaining 1/2 teaspoon coarse salt. Spread glaze over cakes. Top with kumquat slices. Let stand until icing sets.

Do ahead: Can be made 1 day ahead. Wrap in foil; store at room temperature.

If you haven't gone out to purchase this cookbook yet, you should!  I am very pleased with the recipes, so far.  I prefer physical books, but this also comes in kindle form. The book is super on sale right now!: Bon Appetit Desserts.  I am not endorsed by Bon Appetit at all, I just like to share about things that I like.

*Photo taken by me.*

Wednesday, June 4, 2014

Bon Appetit Desserts: Deep Chocolate Pound Cake

I made Sunday's pound cake today, because I leave for a cruise that morning. So, I hope you do not mind that I got a head start.

This recipe can be found not only in my cookbook, but on the Bon Appetit website:Deep Chocolate Pound Cake

I think that it is important to note that I am using Fair Trade cocoa and chocolate in place of all regular cocoa and chocolate.  I urge you to do the same. I only had regular fair trade chocolate chips, so I chopped them up. Worked like a charm.

Let's get to it!

**Update: Out of all of the cakes that I have made so far, this has been the most dry. Even my mom who LOVES chocolate didn't enjoy this one much. I think that  there are probably better chocolate pound cake recipes out there, somewhere.**


Deep Chocolate Pound Cake

Mixing boiling water into the cocoa powder is the key  to creating a deep chocolate flavor.  This melts the cocoa butter and dispenses the cocoa throughout the batter.  Adding mini chocolate chips that melt into the cake intensifies the flavor even more.  Cut any leftover cake into cubes and layer it in glasses with sweetened whipped cream, fresh raspberries, and a touch of chocolate sauce for pretty individual trifles.  8 servings

2-1/4 cups unbleached all-purpose flour

1 teaspoon baking powder

3/4 teaspoon coarse kosher salt

1/4 teaspoon baking soda

1/2 cup sour cream

1/2 cup whole milk

1/4 cup natural unsweetened cocoa powder

1/4 cup honey

2 Tablespoons boiling water

3/4 cup sugar

1/2 cup (1 stick) butter, room temperature

2 large eggs

1 teaspoon vanilla

1/2 cup mini semisweet chocolate chips

Position rack in center of oven; preheat to 350ºF.  Butter and flour 9x5x3-inch metal loaf pan; tap out excess flour.

Whisk flour, baking powder, coarse salt, and baking soda in a medium bowl. Whisk sour cream and milk in a small bowl.

Sift cocoa into another small bowl.  Whisk in honey and 2 Tablespoons boiling water until smooth.  Cool completely.

Using electric mixer, beat sugar and butter in another medium bowl until light an fluffy, about 3 minutes.  Beat in eggs 1 at a time, occasionally scraping down sides of bowl.  Beat in vanilla.  Add cooled cocoa mixture; stir until smooth; occasionally scraping down sides of bowl.  Beat in flour mixture alternately with sour cream mixture in 2 additions each until just blended.  Stir in chocolate chips.

Transfer batter to prepared pan; smooth top.  Bake until tester inserted in middle comes out clean, about 1 hour and 8 minutes.  remove cake from pan and cool.

This is yet another quick recipe.  I know that I am only 2 recipes in to my self-imposed baking challenge, but I am really digging the easy feel I get from these recipes.

*Photo taken by me.*

Sunday, June 1, 2014

Bon Appetit Desserts: Classic Pound Cake

In 2011, I got the cookbook 'Bon Appetit Desserts' and I talked about it here: Dessert Time

At the time, I thought it would be great to bake my way through this book.  I never did.  In fact, I have not made a single recipe from this book and I find that to be quite sad.  Why have a cookbook that you do not use?  So, as I sit here on my summer break, with nothing to do, because I thought I would be working at a summer camp serving coffee, or helpings kids at the craft cabin; I have decided to start baking my way through this book, now.  I figure that I can make about 28 by the end of the year.  That would be one recipe per week.

There are 631 pages of recipes... so it should take me approximately 12 years to bake my way through this book.  TWELVE YEARS! Ahh!

I will start in the first chapter, which is all about cakes.  I will bake one cake every Sunday, if I can and I will give half of the cake to my mom, to take to work.  Nurses need sweets.  It is an unwritten rule.

Bon Appetit Desserts is the cookbook for all things sweet and wonderful... it says it right on the cover.

We start this journey today, with the Classic Pound Cake.

This is a one whisk recipe, so pretty much any one can make this!  I am pretty sure every recipe can be made by any normal at home cook.  They just have to have the time, because some recipes have many steps.

I hope that you will join me in this adventure.  I will post the recipe every week, so that you too can make it, at home.

Shall we get started?!

You're going to love this cake for three different reasons.  1.  It takes about 10 minutes to make and get the batter into the oven. 2.  You'll have hardly any dishes to wash in the end.  3.  Since it has a long baking time, you can busy yourself with other tasks while it is baking... or not.

Photo taken by me, Tiffiny H.


Classic Pound Cake

Originally made with a pound each of eggs, flours, butter, and sugar, this cake has been an American and British staple for more than 200 years.  Over time, cooks have tweaked the recipe by adjusting the original proportions; adding leavening, such as baking powder, and liquids, like sour cream or milk; and incorporating all kinds of flavorings, from vanilla to chocolate.  Yet it remains a classically simple and delicious treat.  8 to 10 servings

1-3/4 cups unbleached all purpose flour

1/2 teaspoon salt

1 cup (2 sticks) butter, room temperature

1-1/2 cups sugar

1-1/4 teaspoon vanilla extract

1/4 cup whole milk


Preheat oven to 350º F.  Butter and flour 9x5x3-inch metal loaf pan.  Whisk flour and salt in a medium bowl to blend.  Using an electric mixer, beat butter in large bowl until fluffy.  Gradually add sugar, beating until blended well. Beat in eggs 1 at a time, occasionally scraping down sides of bowl.  Beat in vanilla. Beat in half of flour mixture, then milk, then remaining flour mixture.  Spread batter evenly in prepared pan.

Bake cake until golden and tester inserted into center comes out clean, about 1 hour 15 minutes.  Cool cake in pan 10 minutes.  Cut around pan sides to loosen cake.  Turn cake out onto rack.  Turn right side up and cool completely.

Do ahead: Can be made 1 day ahead.  Wrap in foil and store at room temperature.

Here is a link for a bunch of pound cakes, on the Bon Appetit website.  They are a great source.  I used to get their magazine all of the time, but now just find what I need on their website, or from e-mails that they send me.  Enjoy! Bon Appetit

I learned that 1 hour and 15 minutes was too long for this pound cake to bake in my oven.  So, I would suggest checking on your pound cake after the 1 hour mark.  It is always best not to open the oven during the first hour of baking.  I hope this helps!